
II first came up with this recipe as I was asked to make a birthday cake for my sister’s birthday. Knowing I was going to have to bake the cake on Thursday. Drive the 4-5 hour journey on the Friday and decorate on the Saturday. I needed a cake that would still be light fluffy and moist having spent at least 1 night in the fridge. My house is a very warm one and the frosting would have melted causing cake slippage overnight. I went for a red velvet cake as my sister likes cocoa and red velvet is a people pleaser. We were also visiting an American style diner and so the American classic red velvet seemed fitting.
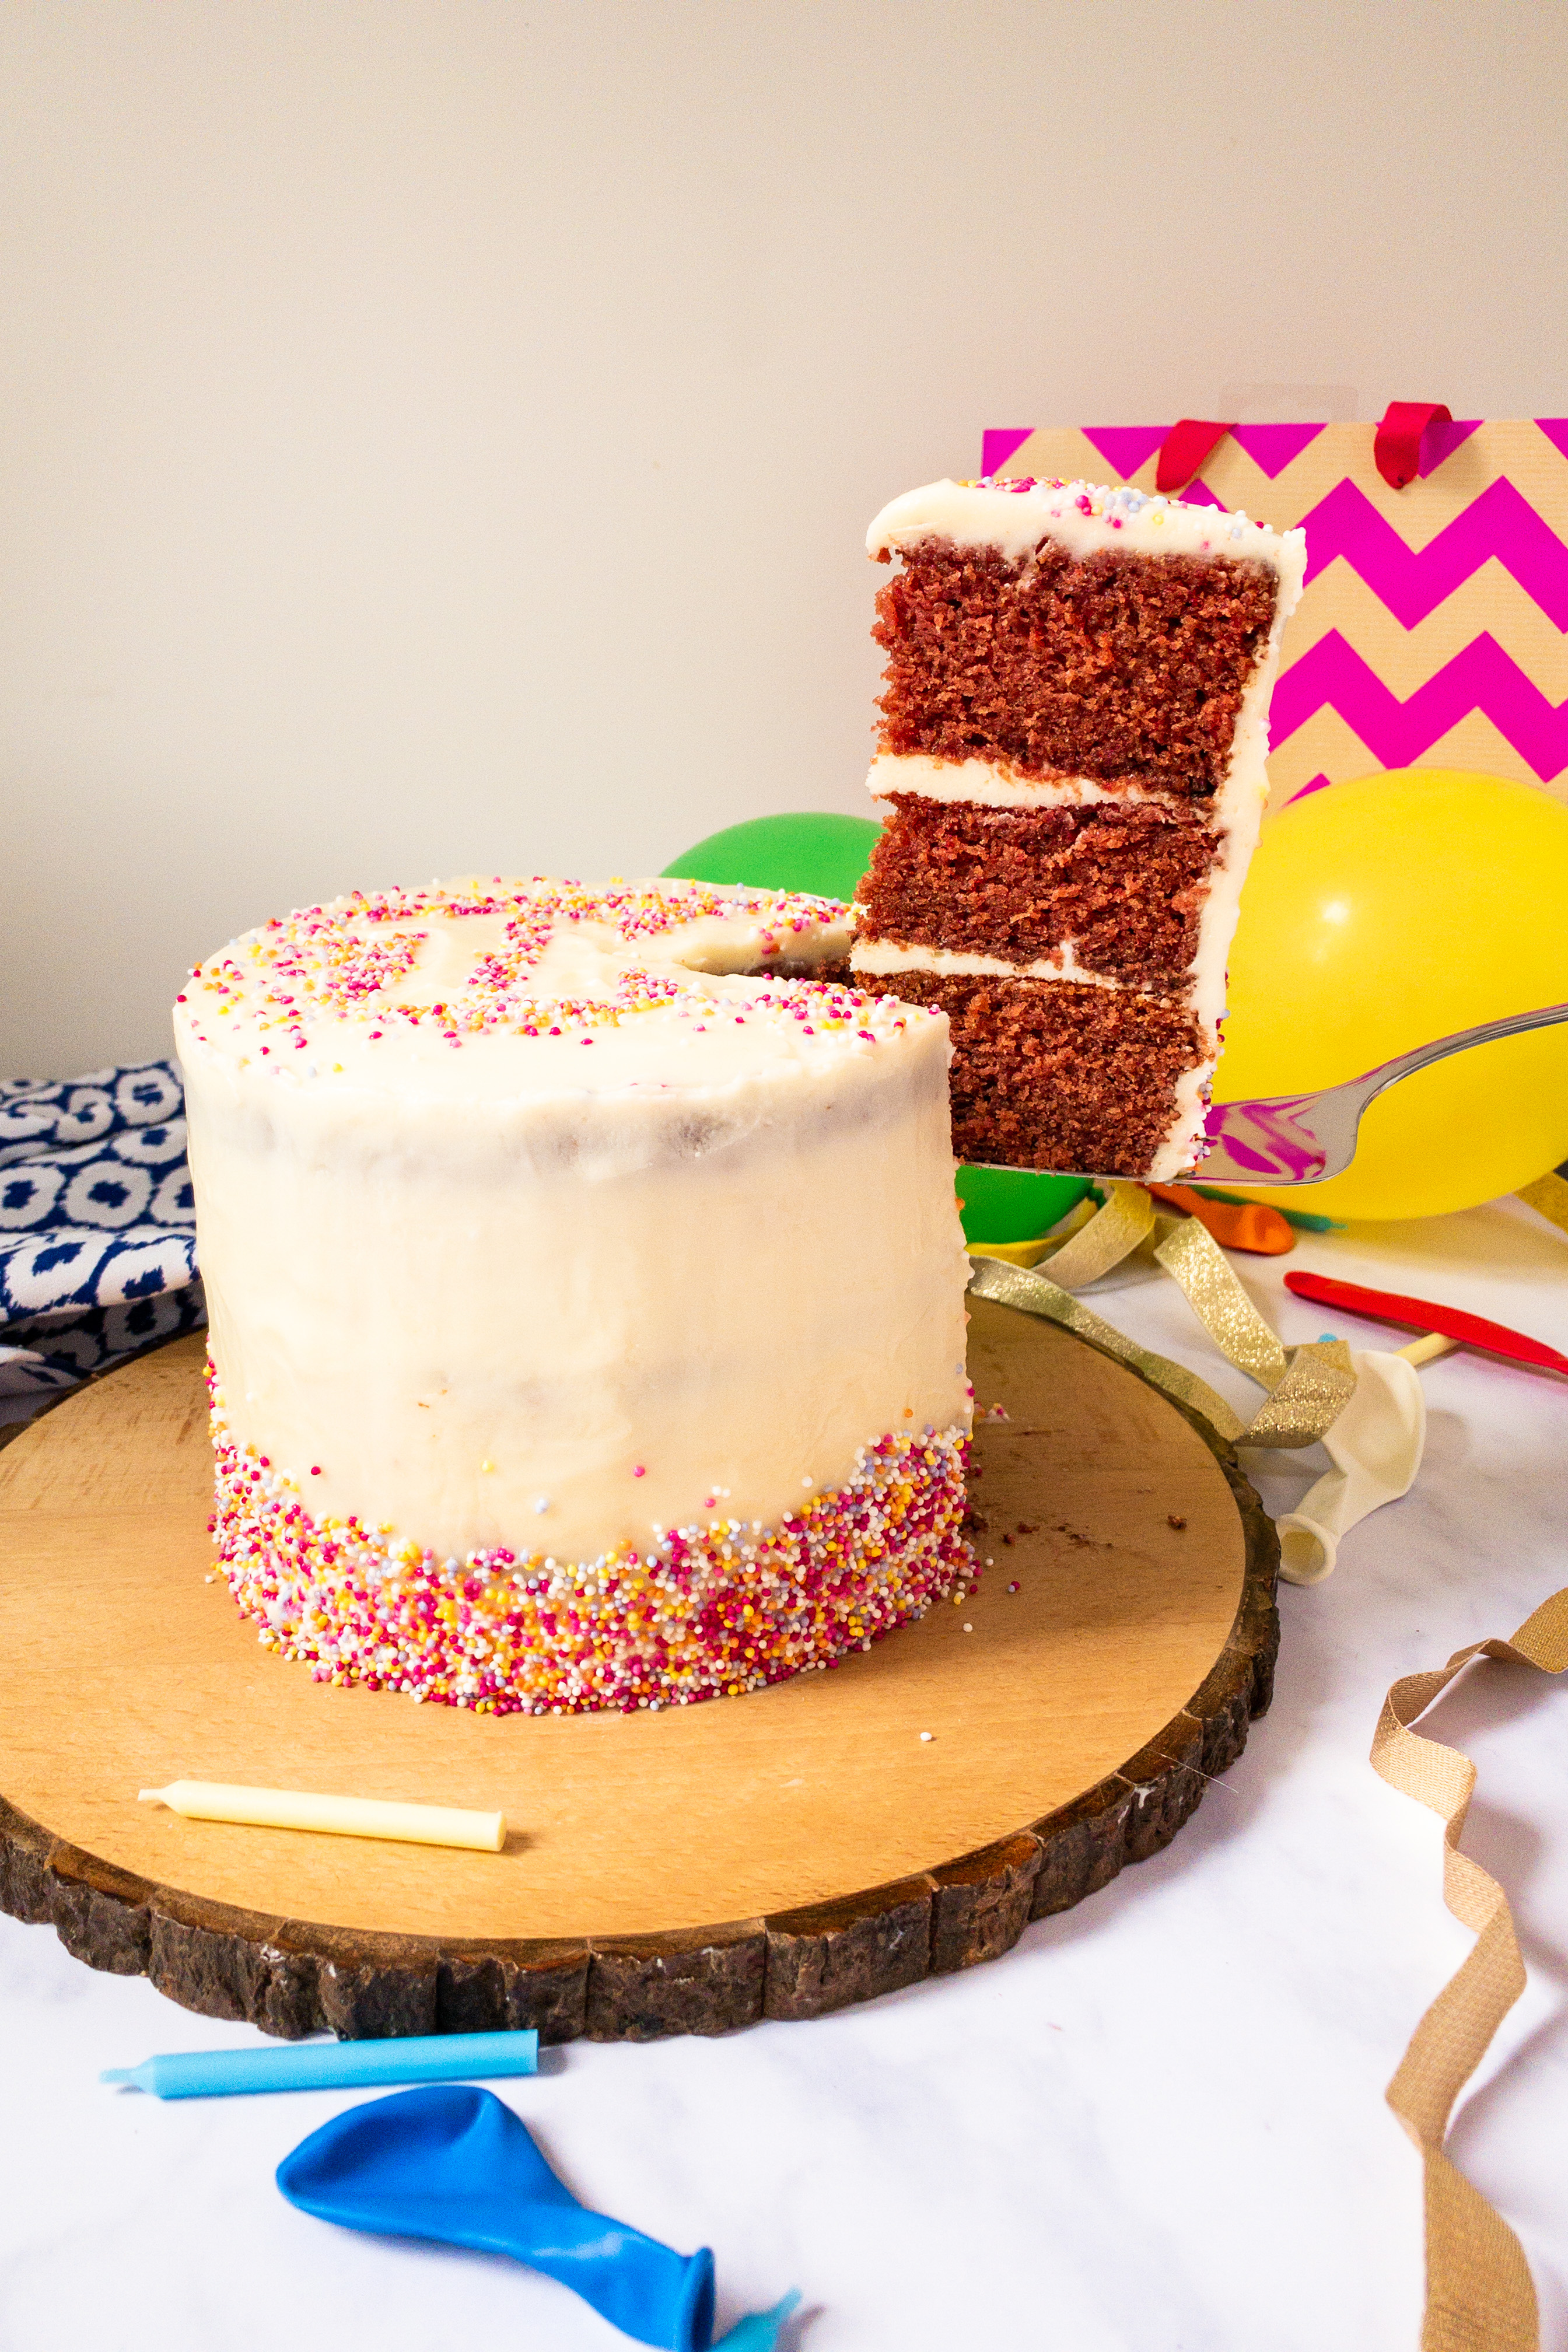
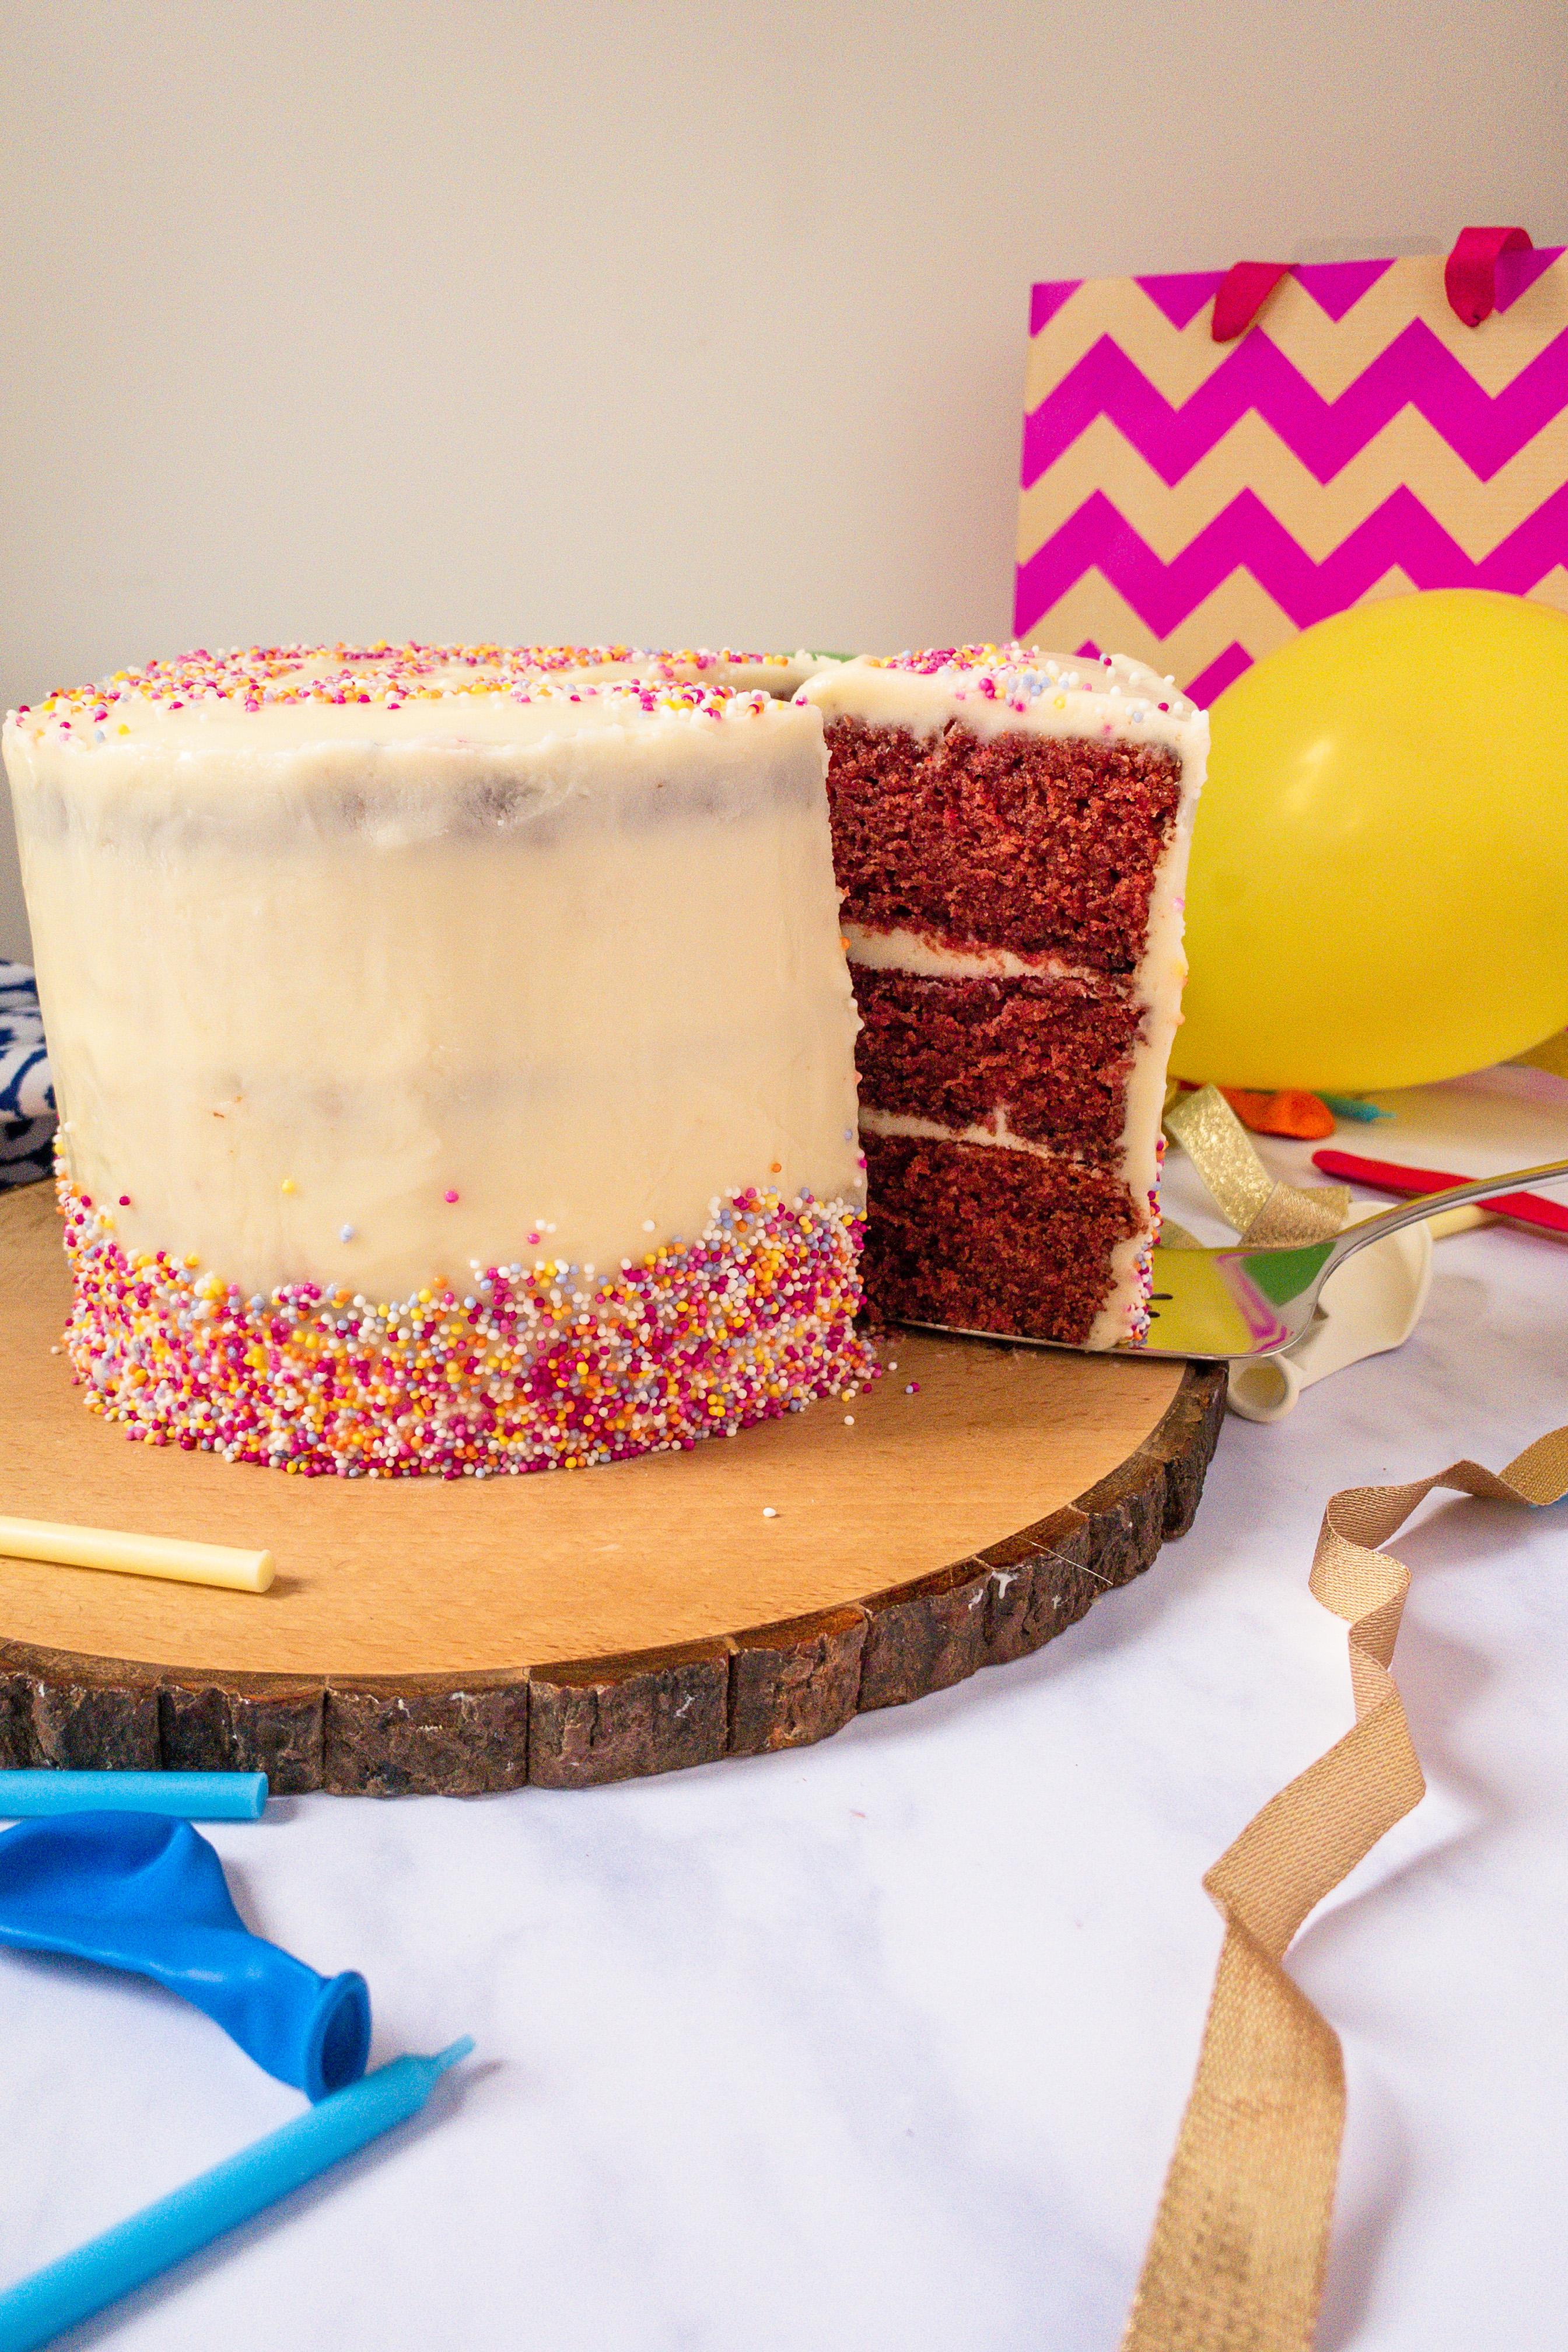
I have a range of different sized cake pans and deciding which to use is often more difficult than deciding on a flavour of cake. What I went for was six-inch round tins and with the current trend for taller cakes I went for three layers. Using three layers means I don’t have to worry about having a hidden cake-board and supportive dowels. I did use a couple of jumbo straws to keep the cake straight and together but that was it. I used frosting on the board to stick the bottom layer down and then stacked.
The flour for this cake is something I have played around with. Here in the UK we tend to use plain or self-raising flour for baking. Although, of course, if I am baking gluten free these flour options change. In America, for example, they have ‘cake flour’ this is still usually wheat based but has a lower protein content. To create my version of cake flour I add 7 grams of cornflour to every 50 grams of plain flour. This cake needs 400g of flour, so I use 350g plain flour and 50g cornflour to make it a round figure. This really does create a lighter crumb and absolutely no bouncy clagginess.
With red velvet cake I have tried to substitute buttermilk for my own solution of milk with lemon juice. In other recipes this absolutely works. Her, however, you do need to use buttermilk. The flavour it brings is part of the profile of the red velvet cake. But more importantly the acid content is what reacts with the bicarbonate of soda to give you the rise you are looking for.
Cake storage is often a conversation I have with myself. Generally I will leave my cakes out in an airtight container. If it is a covered cake with either a frosting/buttercream or fondant these will act as a covering. I kept this one in the fridge overnight and the texture didn’t suffer it was still light and fluffy and didn’t dry out. I had already filled, stacked and coated in its first layer to seal the moisture in. If you want to keep cake fresh and you have to bake one day and decorate another. You can freeze baked cakes wrapped tightly in cling film and then in another layer of either foil or a zip-lock bag. Thaw completely before filling and decorating though.
A frosted and uncut cake sits happily at room temperature. The only thing I suggest is you cover with a large dish or tin or even keep in the microwave. This protects it from dust, pet hair, flies etc. This should keep for 5 days – cake for most of a week!
As soon as you have cut the cake I think of this as opening the door to let moisture escape. You’ve worked hard to get air and moisture into that cake now the best way to keep it in is to close that door. So I suggest putting cling film directly onto the cut parts of the cake and make sure it is against it. This will keep for 3-4 Days at room temperature if you can resist it that long.
When should you refrigerate cake? If you have a particularly hot kitchen. As the high sugar and hopefully moisture content of your cake along with high temperatures is perfect environment for bacteria. Another time is if you are making a cake that won’t be served for three days or more. If not frosted cling film and fridge. If this is coated then chill for 20 mins or so until the frosting has hardened then you can cling film it and fridge it.
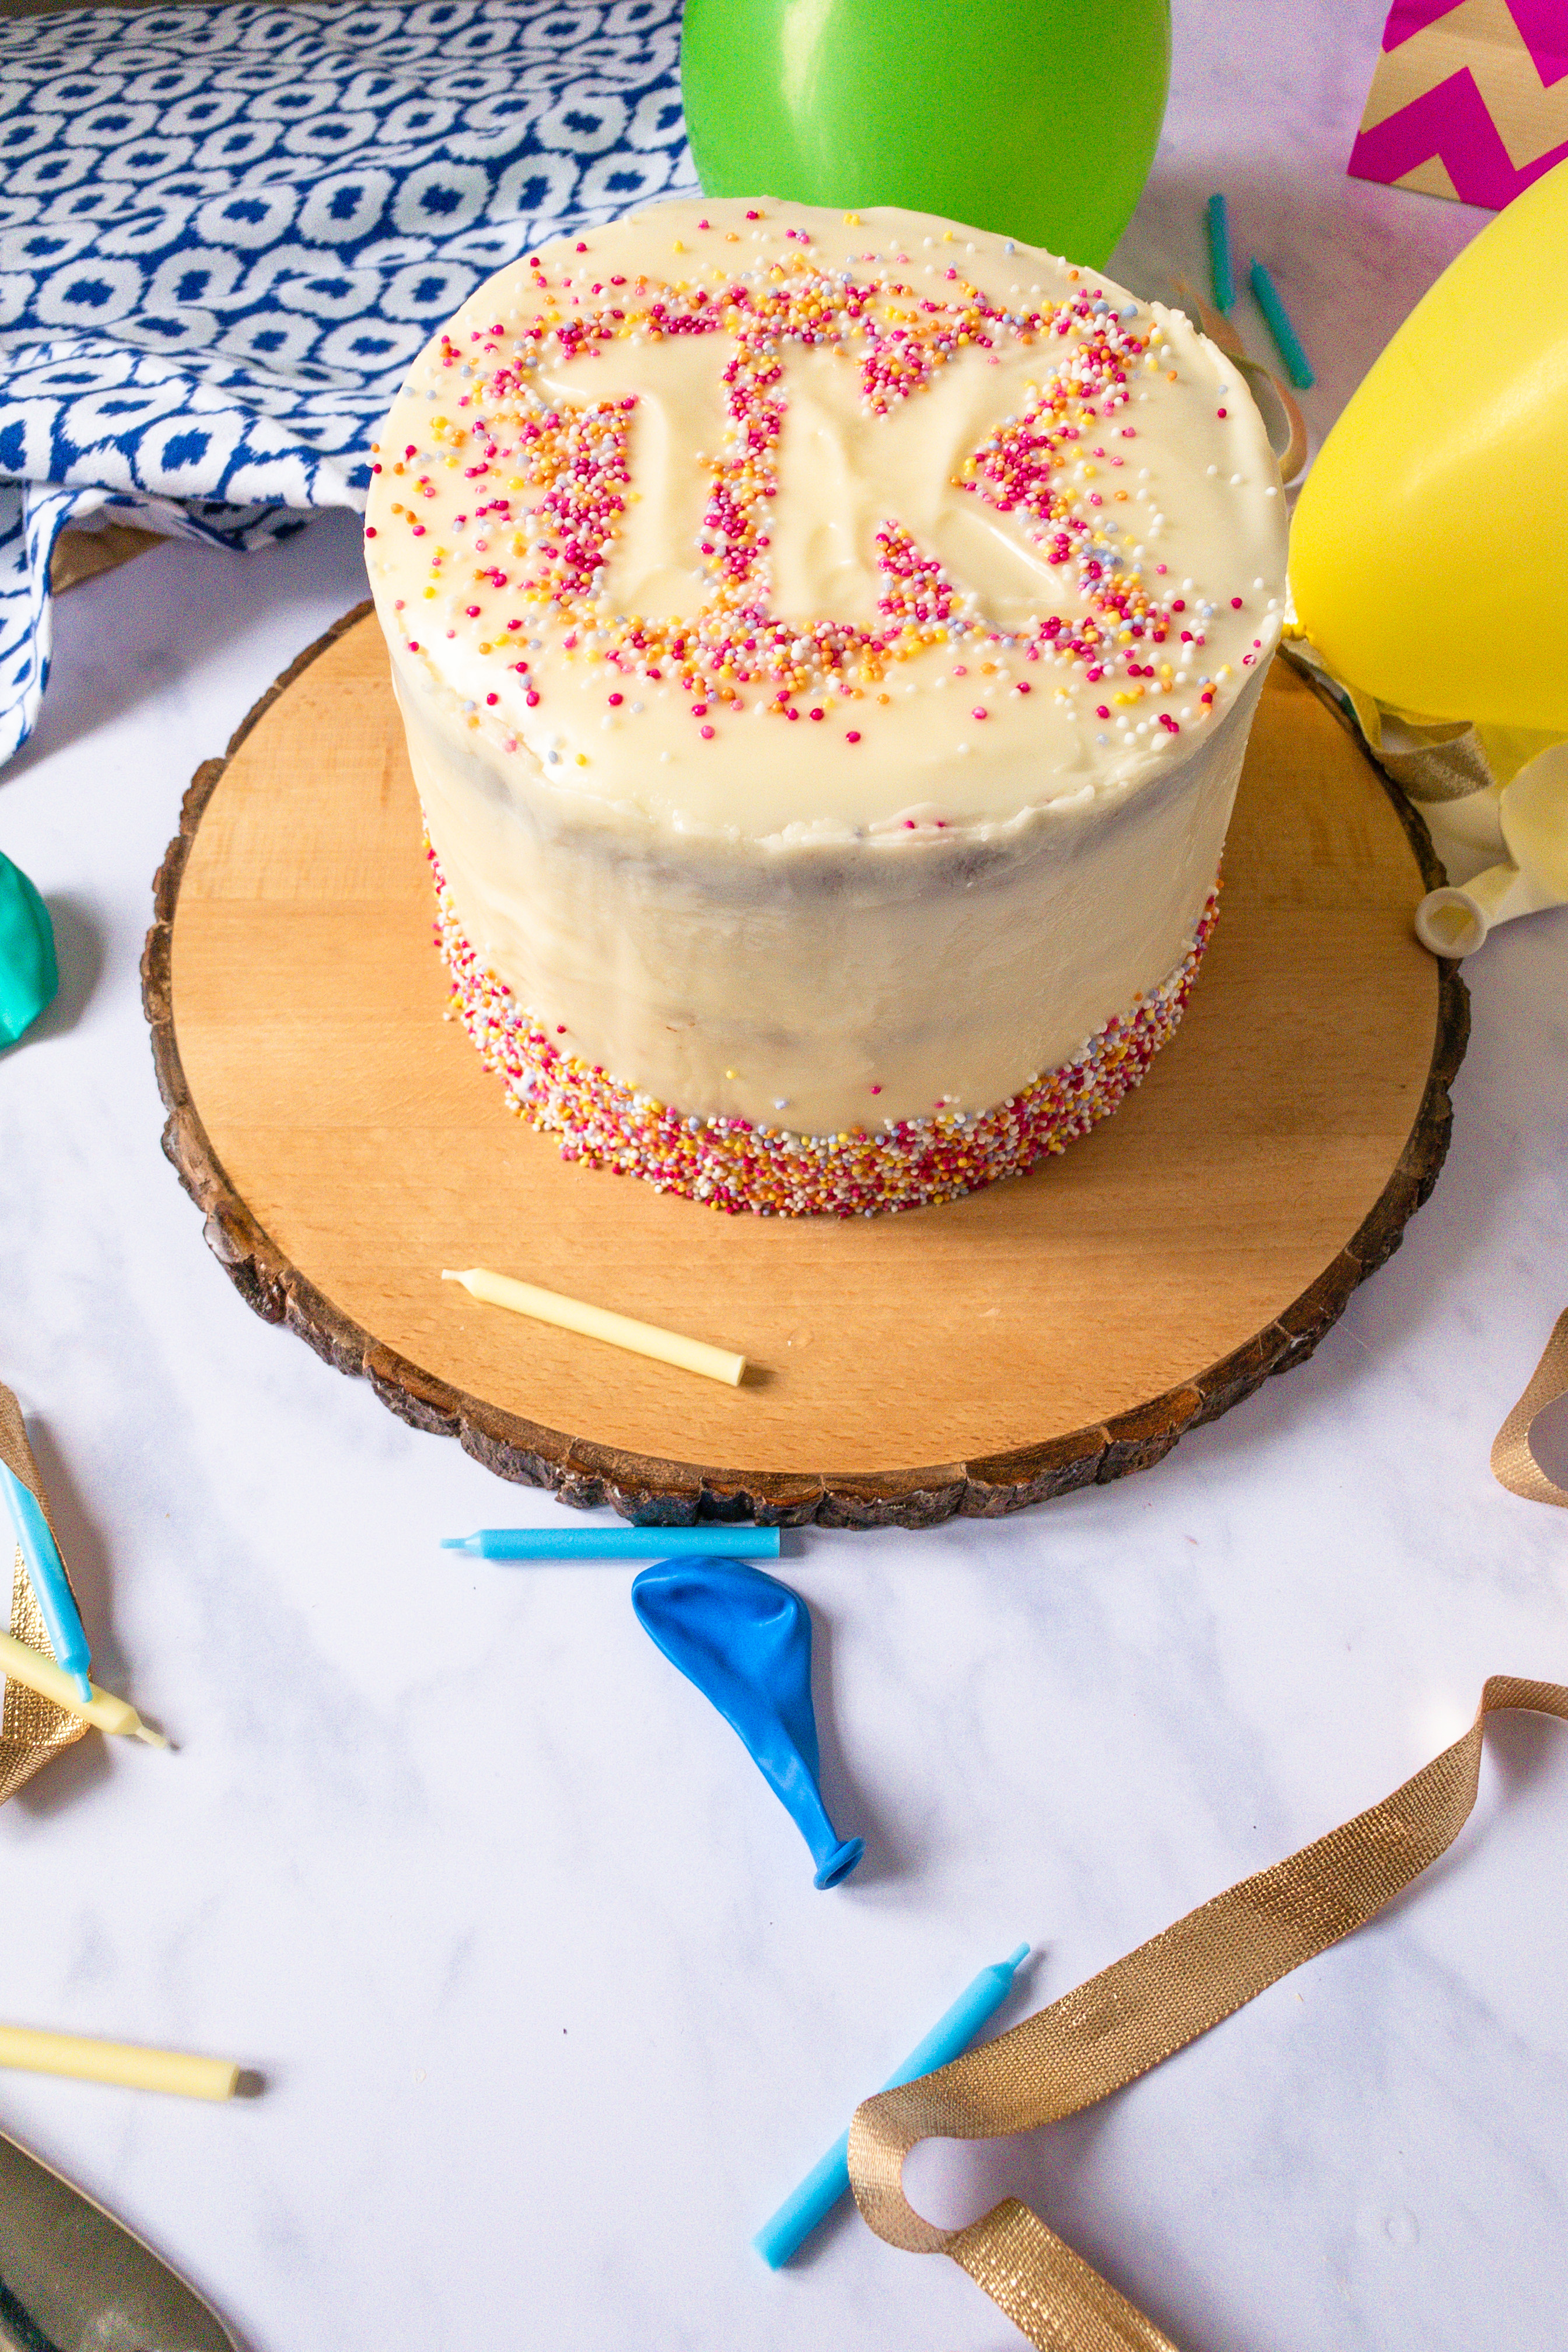
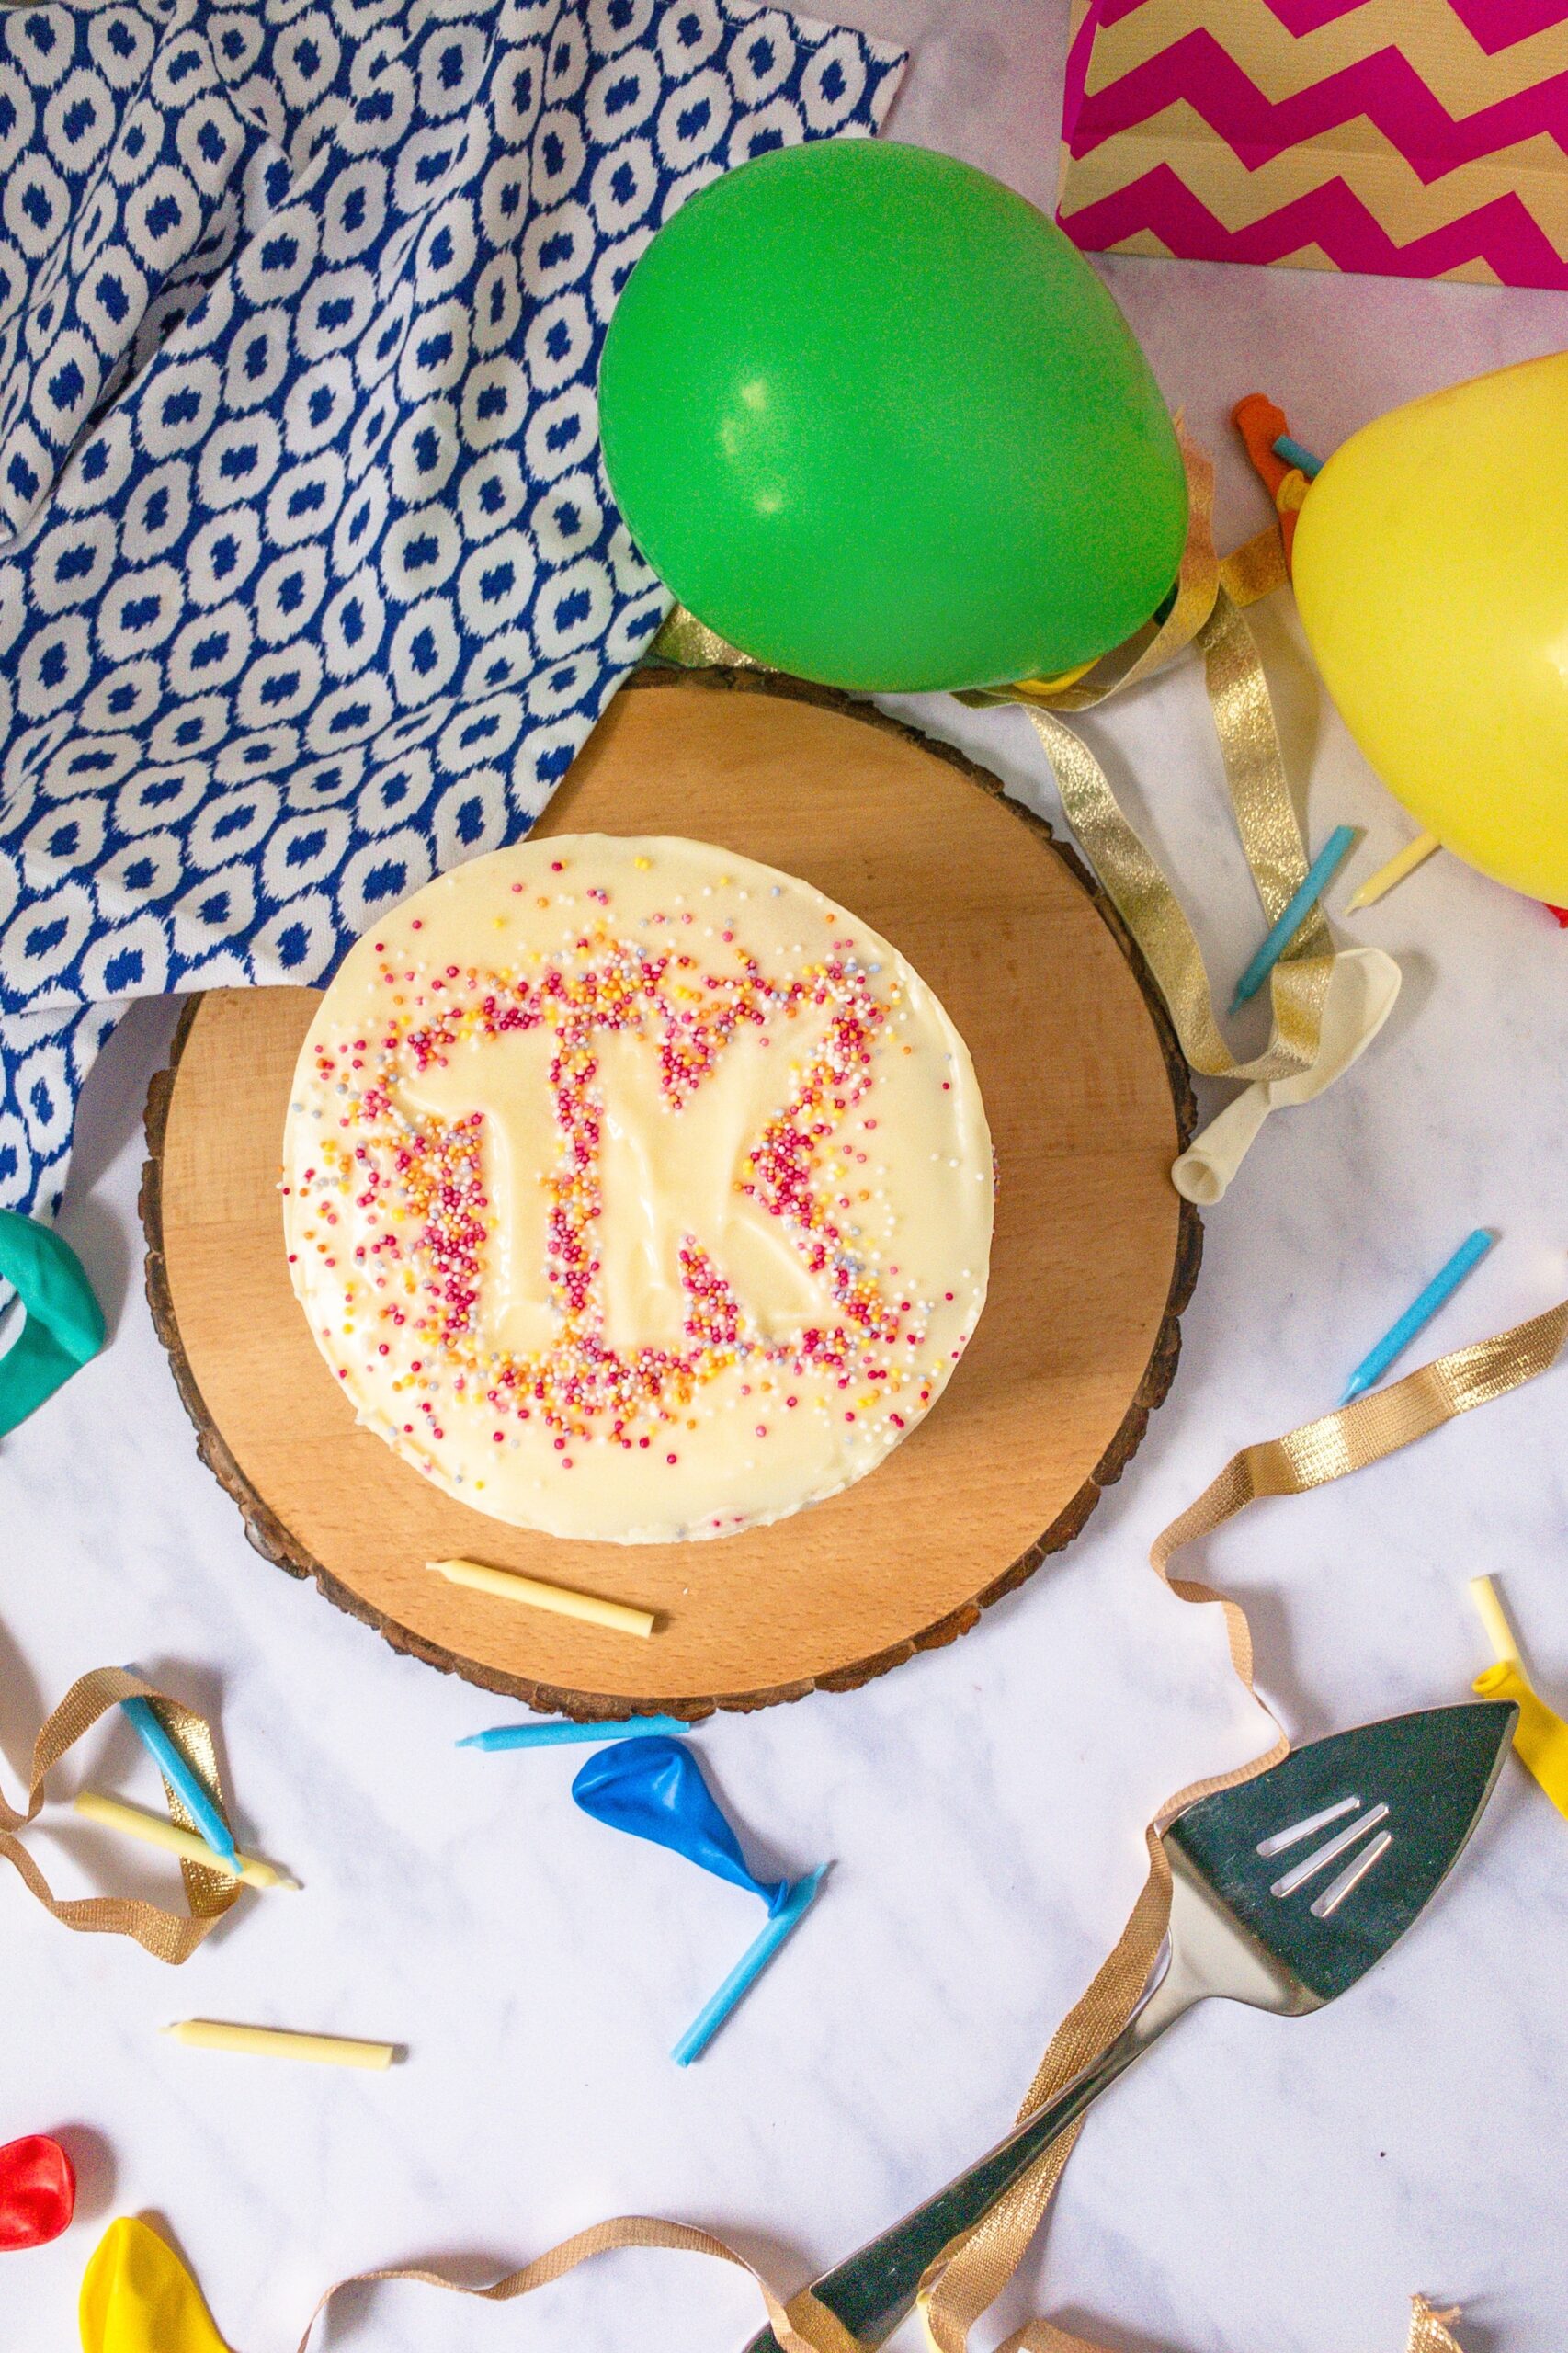
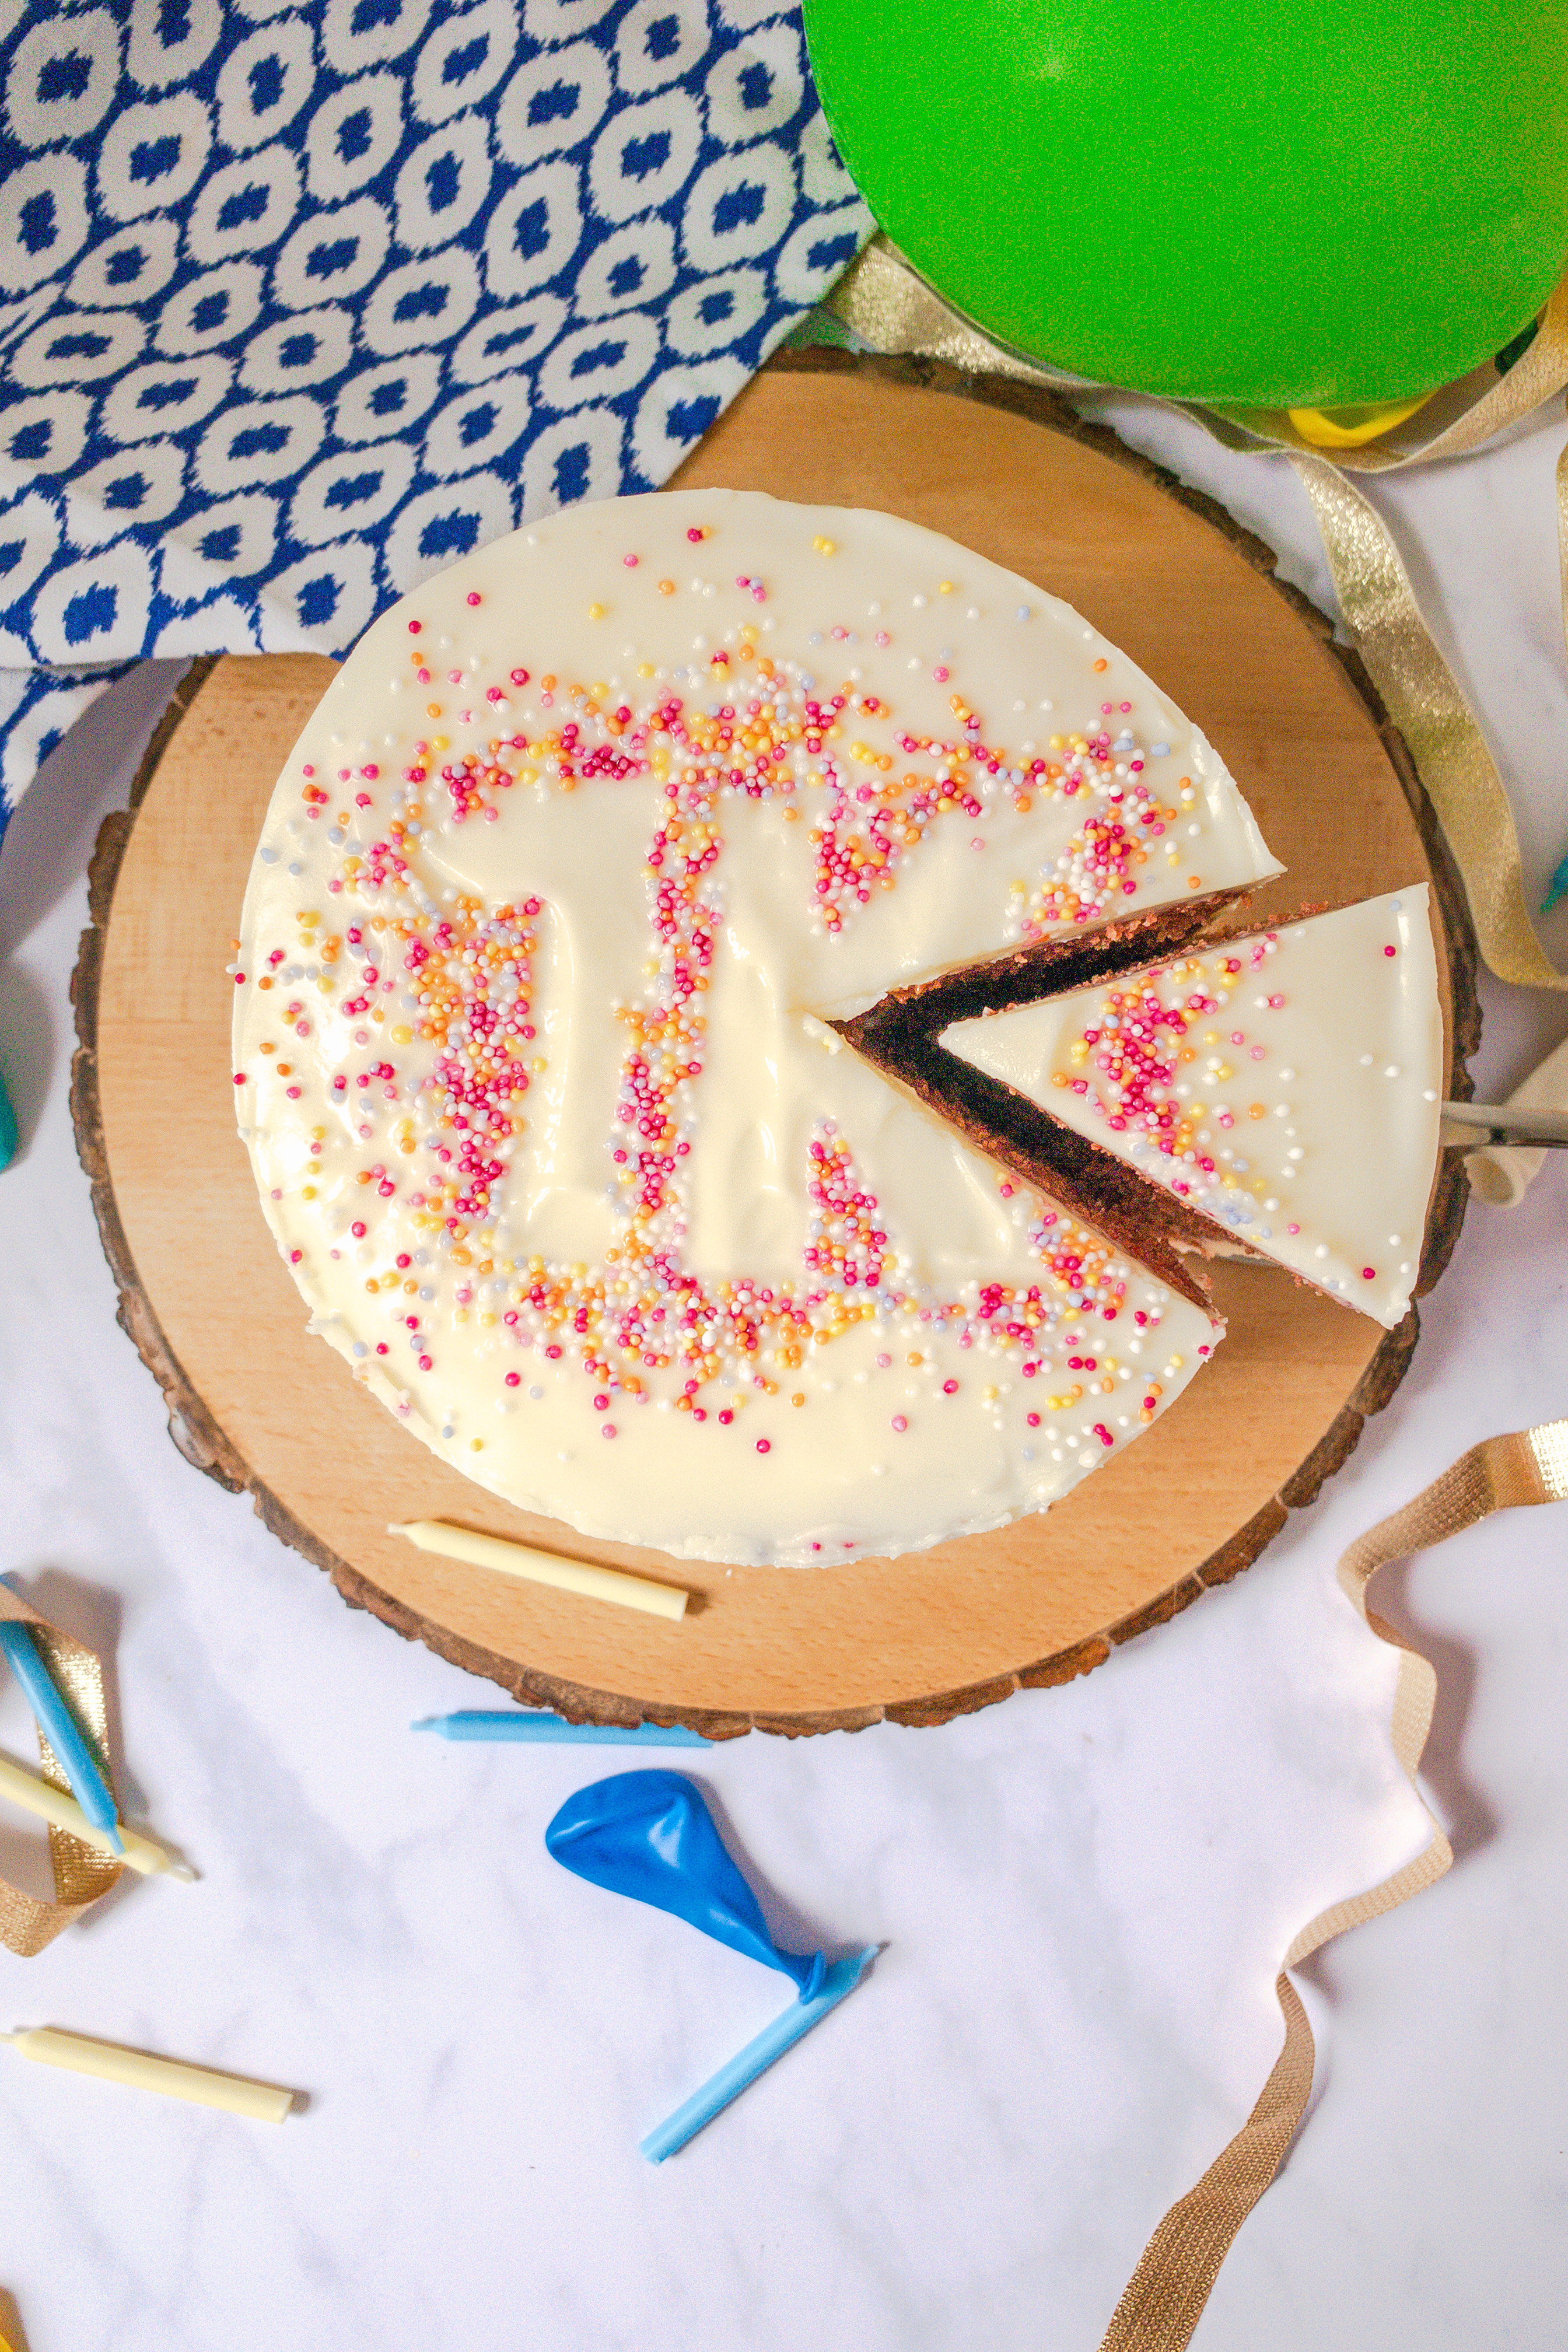
To decorate this cake I used the traditional pairing for red velvet, cream cheese frosting. This is an icing that is soft and fluffy but does hold its shape if piped. The traditional red velvet decoration is the creamy frosting with a ring of cake crumbs around the top and bottom, which does look simple and elegant. However I wanted a little more colour and so sprinkles were used. Therefore I invite you to decorate as you see fit and express yourself.
If you wanted to use this recipe to make cupcakes it would make 22 decent sized cakes but might stretch to 24.
More baking recipes:
Hidden Oreo Cupcakes
Lemon Curd Buns
Chocolate Crinkle Cookies
Orange & Cranberry Scones
If you try this out let me know how you got on and how you chose to decorate it. Don’t forget you can tag me on Instagram @cubbinthekitchen and #CUBBintheKitchen for a chance to be featured in my stories.
Red Velvet Cake
A soft crumb with glorious flavour, perfect for a special occasion
Wet Ingredients
- 110 grams Margerine (or Unsalted Butter plus extra fro greasing pans)
- 330 grams Caster Sugar
- 2 Large Eggs
- 250 ml Vegetable Oil
- 1 tsp Cider Vinegar
- 2 tsp Vanilla Extract
- 250 ml Buttermilk
- 2 tbsp Red Food Colouring
Dry Ingredients
- 350 grams Plain Flour (All Purpose)
- 50 grams Cornflour
- 2 tbsp Cocoa Powder (plus extra for dusting pans)
- 1 tsp Bicabonate of Soda
- 0.25 tsp Salt
Cream Cheese Icing
- 450 grams Cream Cheese (Full Fat at Room Temperature)
- 170 grams Unsalted Butter (Room Temperature)
- 1150 grams Icing Sugar
- 2.5 tsp Vanilla Extract
Cake
Prepare you pans by greasing with butter or marg. and dusting with cocoa powder.
Cream the butter and sugar together to a smooth consistency. Either with a strong arm or with a stand mixer (I’d use a paddle attachment)
Add in the eggs 1 at a time and beat well until smooth between adding.
Sieve all of the dry ingredients into separate bowl and stir to make sure they are fully integrated.
In a jug combine the Vegetable Oil, Buttermilk, Vinegar, Vanilla and Red Food Colouring.
Slowly add to the Butter, Sugar and Eggs, beating constantly to combine until smooth. If it looks like it’s going to split ad in a handful of the flour to bring back together.
Now add the dry ingredients to the wet, beat this until it is only just combined. (Err on the side of caution some small lumps are better than over mixing this batter)
Divide the mixture between the pans.
Bake in the oven for 25-35 mins depending on pan size. After 25 mins check with a tooth pick inserted to the centre if it comes out clean it’s done. If not cover with foil and bake checking at regular intervals.
When baked allow the cake to cool in their pans for 15 mins then remove to finish cooling on a wire rack.
Cream Cheese Icing
For the cream cheese icing in a large bowl beat the cream cheese and butter until well combined and smooth.
Add half of the icing sugar sifted in and mix well until smooth.
Add the vanilla extract and beat in.
Sieve in the remaining icing sugar and beat until smooth use more or less icing sugar for your desired consistency.
If you want to colour your icing ad the colour with the vanilla extract, remember that the extra icing sugar will dampen down the colour so be bold.
Construction
Once the cakes are cooled we can build. If your cakes are not level then trim the tops for a flat stackable surface. Use a serrated knife for this.
Spread frosting on top of each cake layer and a little in the centre of a cake board.
Place bottom cake on the board and use frosting as glue.
Stack layers on top of each other.
If needed use jumbo straws or cake dowels to keep cake together.
Spread a layer of cream cheese icing over the whole cake to seal it with a crumb coat (This stops crumbs getting into the final layer of frosting)
Let this harden I often let it have 20 mins in the fridge, during this time I can do all the washing up and sort everything out.
Final layer of icing spread over the top and tease down the sides and create an even covering.
Decorate as you wish.
LEFTOVERS TIP
The obvious choice is to turn leftover cake and cream cheese icing into cake pops – perfectly acceptable and would taste great.
However, how about beating together egg, milk and ½ tsp sifted cocoa powder. Soaking slices of cake in then fry them to create Red Velvet Cake French Toast.
Or use the cake to make a bread pudding, enrobe cut up cake with a custard and bake for a really decadent dessert.
Pingback: Sweet Spotty Loaf • CUBBin the Kitchen • Recipe •
Pingback: Apple Tart with Cinnamon Caramel • CUBBin the Kitchen
Pingback: Coronation Chicken • CUBBin the Kitchen • Recipe
Pingback: Lemon and Blackberry Crumpet Pudding • CUBBin the Kitchen
어제 친구들과 회식 자리로강남가라오케추천다녀왔는데, 분위기도 좋고 시설도 깨끗해서 추천할 만했어요.
요즘 회식 장소 찾는 분들 많던데, 저는 지난주에강남가라오케추천코스로 엘리트 가라오케 다녀와봤습니다.
분위기 있는 술자리 찾을 땐 역시강남하퍼추천확인하고 예약하면 실패가 없더라고요.
회사 동료들이랑강남엘리트가라오케방문했는데, VIP룸 덕분에 프라이빗하게 즐길 수 있었어요.
신논현역 근처에서 찾다가강남룸살롱를 예약했는데, 접근성이 좋아서 만족했습니다.
술자리도 좋지만 요즘은강남셔츠룸가라오케이라고 불릴 만큼 서비스가 좋은 곳이 많더군요.
I have been absent for a while, but now I remember why I used to love this web site. Thanks , I will try and check back more frequently. How frequently you update your website?
I’m impressed, I must say. Really hardly ever do I encounter a blog that’s both educative and entertaining, and let me inform you, you could have hit the nail on the head. Your thought is excellent; the problem is something that not enough people are speaking intelligently about. I am very completely happy that I stumbled across this in my search for something referring to this.
hi!,I really like your writing so much! percentage we keep in touch more approximately your article on AOL? I need a specialist in this area to solve my problem. Maybe that is you! Looking forward to look you.
Someone essentially assist to make seriously articles I would state. This is the very first time I frequented your website page and so far? I amazed with the analysis you made to make this actual submit amazing. Magnificent task!
At this time it looks like Movable Type is the top blogging platform out there right now. (from what I’ve read) Is that what you’re using on your blog?
I am really impressed with your writing skills as well as with the layout on your blog. Is this a paid theme or did you customize it yourself? Either way keep up the nice quality writing, it’s rare to see a great blog like this one today..
I have been browsing online more than three hours today, yet I never found any interesting article like yours. It is pretty worth enough for me. In my opinion, if all site owners and bloggers made good content as you did, the net will be a lot more useful than ever before.